Sensitive Meeting with Microsoft Teams Premium
Nov 27, 2024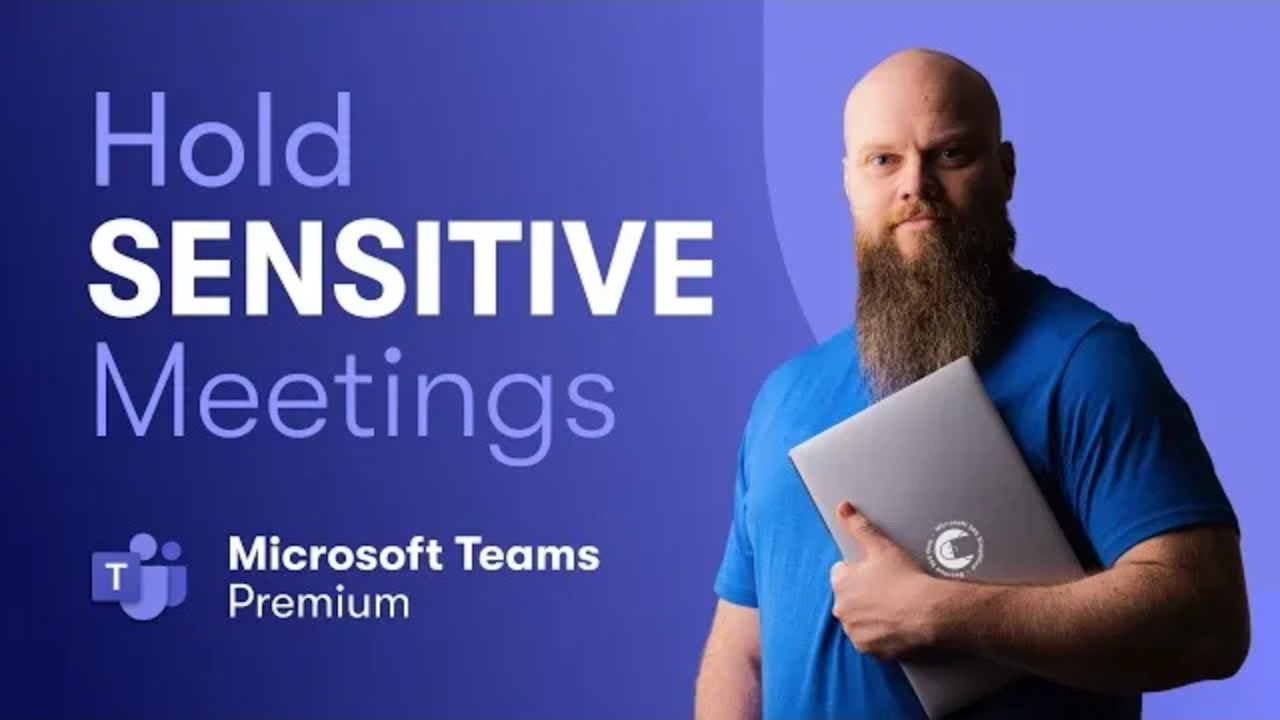
Hold Sensitive Meetings with Microsoft Teams Premium
Do you ever need to have meetings in Microsoft teams that contain really sensitive information?
Have you ever thought about the security of those meetings? Well, maybe you should. And that's what today's blog is all about. But before we start, just a quick introduction.

My name is Jonathan Edwards, a.k.a. the Bearded365 Guy. I help businesses all over the world with the Microsoft 365. If you are more of a visual learner you can check out my video on this topic right here! Microsoft Teams is such a powerful tool when it comes to holding meetings and presentations. But what happens when your meeting contains really sensitive information?
Sensitive Meeting Uses Cases
As an example, perhaps you are a law firm or a financial advisor or an accountant, and you regularly have meeting with your clients. Now the meeting contents, well they’re quite sensitive. So wouldn't it be great if you could enable end to end encryption on that meeting that would give your clients confidence? Now, what’s end to end encryption?
What is end to end encryption?
Well, it means that the contents and the communication of that meeting are all encrypted, so no one could ever find out what was said or what was communicated - not even Microsoft or, another example, perhaps your business is about to launch a new product, but it is top secret. But you are going to hold a team meeting with your shareholders to give them an update.

Now, you don't want news of this new product getting out at all. So, wouldn't it be great if you could prevent people from recording the meeting or prevent people from copying the contents of the meeting chat onto their clipboard? This would be really good. But how do you achieve all of this? Well, you can achieve this additional security with your teams meetings by using a product called Microsoft Teams Premium.
Licensing cost for Microsoft Teams Premium
And yes, you've guessed by the name, it's an extra cost. Now, teams premium costs $7 per user per month, but it does much more than teams meeting security. For example, you can customise the waiting area and the backgrounds with your own branding. So when people join the meeting, they get a very professional image of your firm. Plus, no Microsoft product today will be complete without a bit of co-piliot. That is also included with teams premium.
Now we'll look at those additional features, we'll glance at them a little bit in this blog but primarily this is all about the security of your teams meeting.
I think it just worth touching on the often confusing Microsoft licensing.
Additional Licensing Requirement
 Now, as you will know, if you're a regular of my Youtube channel, I'm a massive fan of my customers using Microsoft 365 business premium. It's got so many features that businesses need up to 300 users. Now, unfortunately, if you go and buy a Microsoft teams premium license and you add that to a tenant running Microsoft 365 business premium, it's not going to work and it's a bit of a shame but the teams premium and business premium just don't work together.

So, as you can see from the screen shot above, this is a really useful resource. It tells you what features are included with what enterprise products.

And you can go right over to the E5 and F5 columns.
We've got office 365 F5 It's available in that. And also Microsoft 365 F5 compliance and F5 security and compliance.
So, what do I mean by this is an add on? Well, if you go out and buy Microsoft 365 E5, you will have this feature.
But what you can also do, you can buy any of these products listed below.

So I could buy Microsoft 365 E3. Now, I wouldn't have the sensitivity labels for teams premium on that license but what I could do is I could then buy this add on.

So you can't use this product in isolation, you do need to bolt it onto something else. So, if I buy the Microsoft 365 E3 on this add on, it will be cheaper than the full E5.
Microsoft recommendations for sensitive meetings
Microsoft have covered this on their website, so they have given us some recommendations on their website: configure teams meetings with protection for highly sensitive data.

Highly sensitive meetings
Microsoft have split this into two sections. You've got your highly sensitive meetings - So this could be if you're a law firm, an accountancy or an IFA and you're having highly sensitive meetings with your clients. By meetings, I mean interacting with each other. Microsoft have come up with their recommended defaults settings on how that meeting should be configured.
 For example, in a highly sensitive meeting:
- allow camera for attendees
- allow mic for attendees
The option should be on and that is set at ‘the template level’.

We've then got other options such as end to end encryption that is at ‘the label level’. The second bit of Microsoft's recommendations are ‘highly sensitive presentations.
Highly sensitive presentations

So when I mentioned earlier about maybe launching a new product and you're presenting that to your board of directors, that could be a presentation rather than a meeting. You can see the top two sections here, allow camera for attendees, allow mic for attendees these allow for attendees. Because it's a presentation, we can set them to ‘off’.
Creating a sensitivity label
So now I've got through a little bit of the admin. Let's jump in to the demo. Okay, here is my test tenancy that I use for videos.

We need to scroll down to admin centre and we need to go to compliance because the first thing I'm going to do is create a sensitivity label.
If you are new to sensitivity labels, a few weeks ago I did make an entire video all about sensitivity labels. So go and check that out. For now, though, we're going to go to Solutions and under that > Information perception and > labels.

Let's start by creating a label, this is going to be for our teams meetings.

We will call this ‘highly sensitive meetings’, The display name is what users will see
Then we want a description for user. So again, I’ve used the same text, but you can fill this out as much as you need to. Then, click on next.

You’ll come to a section called ‘Define the scope for this label’. The section we need is ‘Meetings’ so you can uncheck the ‘Groups & Sites’ box. (You do however need to keep the other boxes checked). Click next.
What you want to do here is obviously ‘protect team meeting and chats’ so check that box and click next.
 So what I need to do is fill out these options within the label.
Okay, So firstly, the top one - this is people who can bypass the lobby, only organisers and co organisers. Next, we've got the option to control who can present the meeting. We certainly don't want everyone, we can set it to only organisers and co organisers.
And then we've got some options about who can record, who can transcribe and whether the meetings are recorded automatically. Because this is a highly sensitive meeting, we want to make sure that this meeting has end to end encryption enabled. So we're going to check this box and then you'll notice that there’s some boxes that are now greyed out because if a meeting has end to end encryption, it means it can't be recorded and it can't be transcribed.
We want to control the watermarks so tick that box. We certainly want to control the meeting chats and we want to select ‘In meeting only’. We also want to prevent people from copying the chat content to the clipboard. Once we're happy with that, click on next.
Auto labelling for files and emails is not part of this blog so click on Next, 3 times and then we're going to create that label. Once that label has been created, we're going to get asked if we want to publish this, and we do. So we’ll keep these options as they are, click on done.

I'm then I'm going to create a new label policy. I'm going to click on Choose labels to publish. We've got this one here.

So click on add, then click on next four times until you see the below screen.

This option we would use if we want to apply a default label to a team's meeting.
So every meeting that's created would be highly sensitive. Now, there might be some circumstance in your business where you would need to use this. I can't think of any, and certainly not for this example. We've also got another option, which means that users when they’re creating meetings and calendar events have to apply a label. If you don't select that, they have to do it manually.
But again, for this example, I'll just click on next and next again. And then we've got to name the policy.

Now we can click on next and click on submit. That new policy has been created. It says it can take up to 24 hours to publish labels to the selected users applications. O’m quite happy to click on that and I've got my label.
24 hours later, I've checked and it is there.
So, what we need to do now is we need to go into the Microsoft 365 admin centre. We need to scroll down to admin centres and this time we need to go into Microsoft teams

Once we're in teams, we go to meetings, then meeting templates.
.
So what we've got to do now is create two meeting templates
The first one is called highly sensitive meetings. Now you can see some of these settings are dictated by the label created yesterday and some of these settings are dictated by the template that we're going to create now.
So we'll create a ‘highly sensitive meetings’ template and we'll create a ‘highly sensitive presentations template’,
So, click on Art.

We'll type our name ‘highly sensitive meetings’.

Now here it says Apply a sensitivity label. So that's what we're going to do. We're going to apply the sensitivity label that we created.
Now when we select this you can see over the right hand side, it says ‘Unlocked’ and the settings under there, say locked.

So what does that mean? Well, if it's unlocked, it means that the meeting organiser or the co-organiser can change this. So ideally, we don't want it to be unlocked. We want it to be locked. So I just select that again with my left mouse click and I lock it and I click on ok. And that is now locked.
Let's just have a look at some of the settings that appear in this section here. So, we've got the ‘camera for attendees’ and the ‘mic for attendees’ They are switched on and they're dictated by the template. We've also got ‘manage what attendees see’ and ‘meeting chat’, these are enforced and they're managed by the template.
Now of course this is a meeting, so ‘mic for attendees’ and ‘camera for attendees’, these are switched on and what we can do is we can lock these if we want.

So if I click on that one them and click ‘lock’, it locks both of them and then I can scroll down a bit more, there’s options about copilot, if you want to change those.
We've got the meeting chat option which we’ve already done and the ‘in meeting only’ that is also locked.

Next, we’ve got manage what attendee see so that needs to be switched on. That means we can manage what the attendees see and again we need to left click and we need to lock that. If any time we want to unlock it, we simply select it and click on the unlock board at the top.

Once we’re happy with this, we can save the template. You need to type in a description and then click save. That has now been created.
So let's go ahead and add the highly sensitive presentations. This template is virtually the same as the other one. It's just got a slight difference.
I will lock the sensitivity label. As you scroll down, it's all the same apart from the Audio and Video options because this is a presentation

So, we're going to switch off the mic and we're going to switch off the camera for attendees. We just need to select one of these and it locks them both, I don't know why that is.
If you scroll down a bit more, to meeting engagement, these should already be locked but we will switch on ‘manage what attendees see.’

So, this is the same one apart from the mic and the camera, click on Save. And now we have two meeting templates in our teams.
So how does that look in the real world when you're having a teams meeting?
Let's just have a quick look at what that looks like from a meeting organiser's point of view. You can see the Teams Meeting below.

Click into calendar and then ‘new meeting’, if I click on the dropdown here, I can scroll to the bottom and see my custom templates.
So, then I can choose one of my options ‘highly sensitive presentation’. I can add the title and any other details. Towards the right hand side under options you have a list. (If it's not showing, you can see that some options may be locked)
As the organiser of this meeting, I can't change anything here because that has been dictated by the sensitivity label and the teams meeting template

If you go into more options, the only things that I can change, things like the Q and A, etc., the things that I didn't lock within the template and I didn't specify within the sensitivity label. So that is what that is like from a user point of view.
So I hope this blog has been helpful!